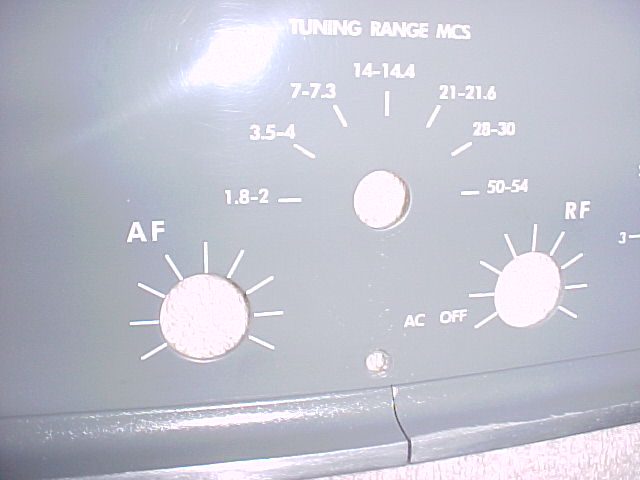
Removal and replacement of the front panel bezel (or trim ring)
on the Hammarlund late model HQ series receivers.
original work 12/04/00, pix & write-up 4/10/02
(click on thumbnail pix for a close-up)
original work 12/04/00, pix & write-up 4/10/02
(click on thumbnail pix for a close-up)
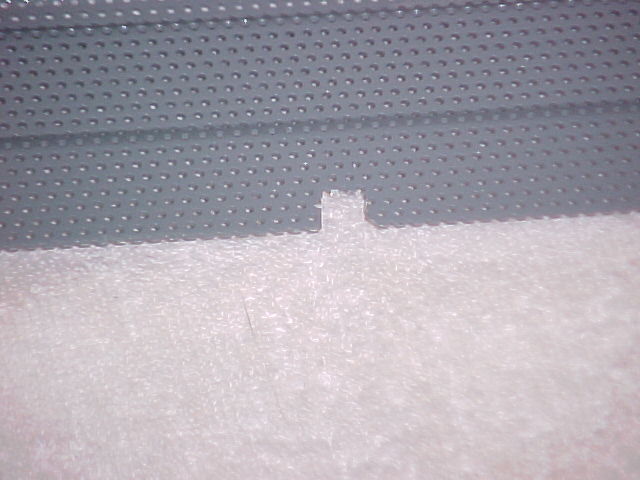
The bezel/ trim ring has a welded tab between the 2 ends, at the bottom center.
The tab was plug welded, and here's what I have done:
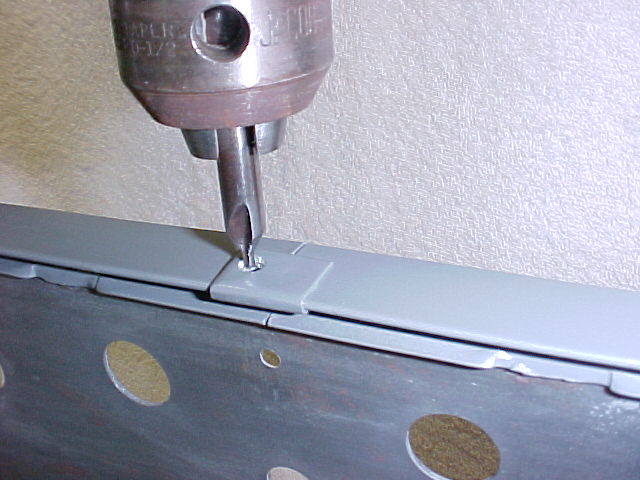
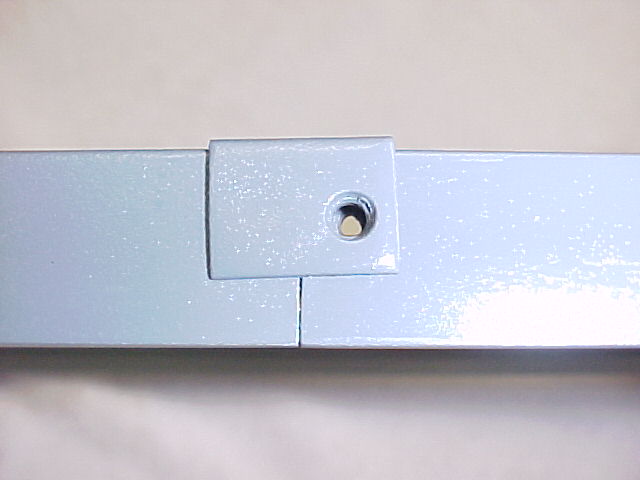
1. use a small center drill (the kind a machinist uses in a lathe to put a
center hole in a shaft), after carefully centerpunching the center of the weld on one side. This gives a countersunk hole, abt
#3 or 4 sized, go deep enough that the c-sink is just through the ring, may go a bit deeper into the tab, if
needed to get thru the weld material in the ring and allow it to break free.
(note,
this view shows the hole already drilled on through, as covered in step 3.
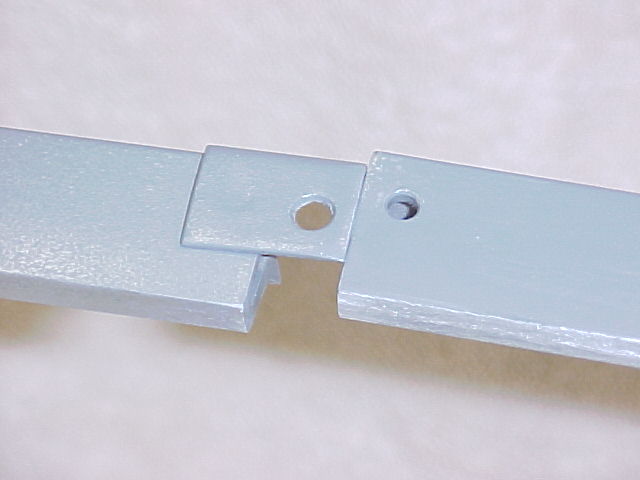
2. the trim ring will then separate, and can be removed
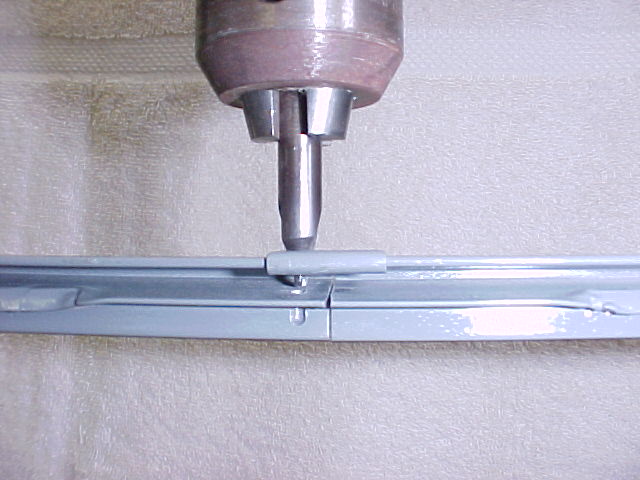
3. drill out the hole slightly larger in the tab for the next size screw, as tight a fit as possible.
Be careful not to drill at an angle, or far enough to drill through to the
outside/front. See the picture for step 1.
The fun begins when you want to reinstall it:
1. use a file or grinding tool to break the sharp edges around the panel, you may
have to relieve it some around the corners so the
bezel ring will fit over it without requiring too much clamping force,
particularly if you are not reinstalling the same panel into a bezel.
2. relieve the crimped in spots around the trim ring so it will fit nicely as #1.
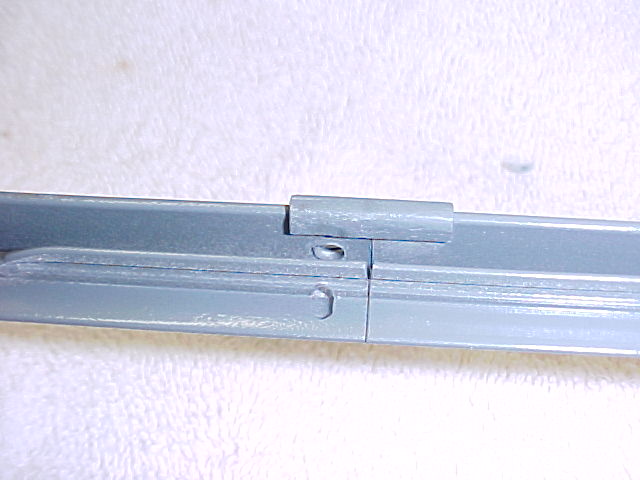
3. obtain a countersunk screw, #4 or #6, don't remember which, but as small as possible, to fit the centerdrilled hole, enlarge the countersink as
required.
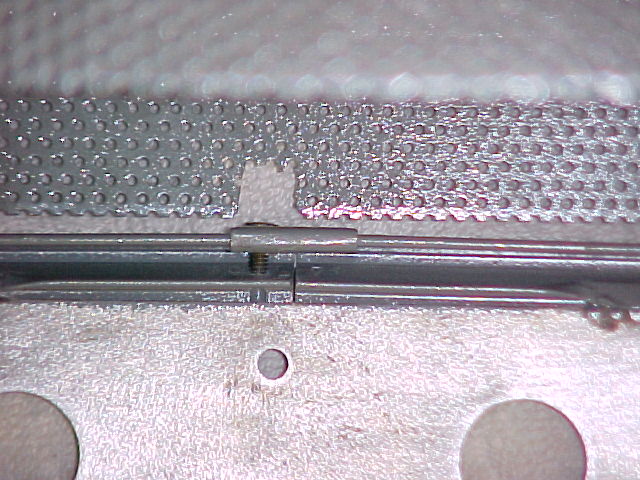
4. without the panel, assure as tight a fit as possible at the ends of the ring, with the new screw and a close fitting hole in the tab. - you may need to cut the screw shorter, just long
enough for a nut, or it may be possible to thread the hole, using the same size
screw, so that the screw will fit through the bezel as shown.
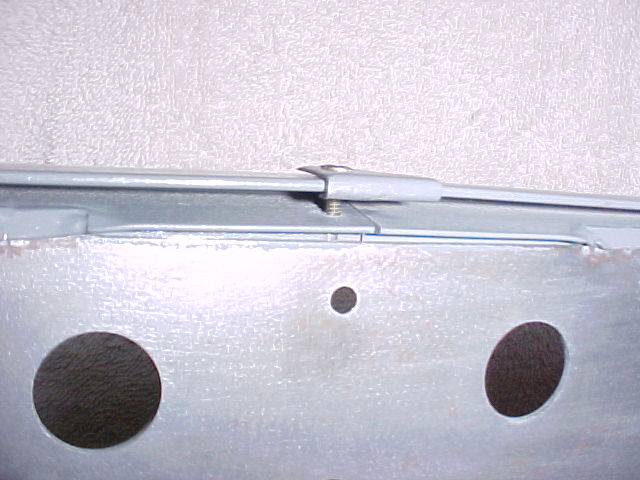
5. you may use a nut on the inside top of the tab, there's just enough room,
or thread the hole as noted above.
6. you may need to bend the corners of the ring to a tighter radius, as it springs apart when the weld was broken.
7. place the ring around the panel, use a wooden block & mallet to make
it seat tightly use clamps to bring the ends tightly together, if necessary.
8. the joint may not stay tight up against the panel, you may need to fabricate an L-shaped steel clip to pull it up against the chassis after
final reassembly - this clip must be of sufficient size/strength to not bend.
9.
there's one price to pay, if you don't have plug-welding capability.
You'll need to notch out the center bottom of the cabinet to clear the screw
that is now in the bezel.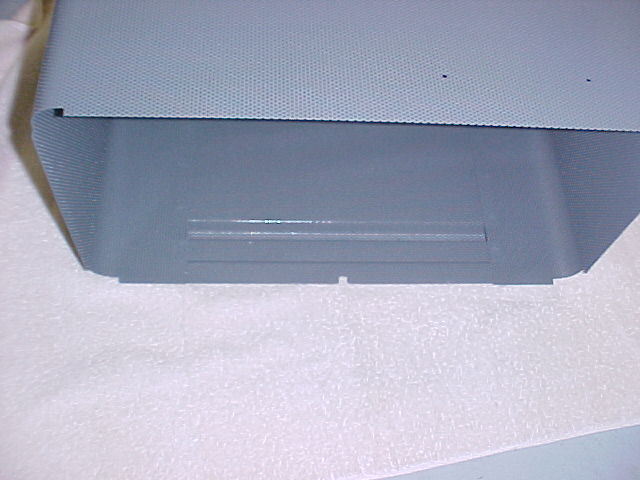
(I mis-measured on this one & the notch is about twice as wide as necessary,
unless a nut is used on the screw.)
I have done this on 3 receivers now, and it has worked out quite well.
73,
Al, W8UT
04/10/02
===============
Radio to go to HOME